Homemade Chocolate Bread: Easy Recipes & Tips
The smell of freshly baked chocolate bread reminds me of my grandmother’s kitchen. I used to watch her mix ingredients on a step stool. She turned simple items into a magical treat that warmed our home.
Making homemade chocolate bread is more than baking. It’s about making memories. This guide is for both beginners and experienced bakers. It covers quick breads and yeast-based recipes that will wow your family.
Chocolate bread is great for any time of day. It’s perfect for breakfast, a snack, or dessert. With the right ingredients and techniques, you’ll make a rich, moist loaf. It’s a true comfort and indulgence.
Table of Contents
Key Takeaways
- Discover two primary types of chocolate bread: quick bread and yeast bread
- Learn essential techniques for creating moist, flavorful homemade chocolate bread
- Understand the key ingredients that make chocolate bread exceptional
- Explore versatile serving and pairing suggestions
- Master troubleshooting tips for perfect bread every time
Understanding Chocolate Bread Basics
Exploring chocolate bread is a fun journey for anyone who loves to bake. Whether you’re new to baking or have lots of experience, knowing the basics is key. It helps you make the best easy chocolate bread recipe every time.
Chocolate bread has two main types, each with its own way of making. Knowing these differences helps you pick the right method for your skill level and how much time you have.
Quick Bread vs. Yeast Bread
The two main types of chocolate bread are quite different:
- Quick Bread: Uses chemical leavening agents like baking powder and baking soda
- Yeast Bread: Relies on active yeast for rising and development
Essential Ingredients Overview
To make perfect chocolate bread, you need the right ingredients. Here’s what you’ll need:
| Ingredient Category | Specific Items |
|---|---|
| Dry Ingredients | All-purpose flour, cocoa powder, sugar, salt |
| Wet Ingredients | Eggs, milk, vegetable oil, vanilla extract |
| Leavening Agents | Baking powder, baking soda, or active dry yeast |
Equipment Needed
Before you start baking, make sure you have these tools:
- Mixing bowls
- Measuring cups and spoons
- Loaf pan
- Whisk or electric mixer
- Cooling rack
Knowing these basics will help you bake chocolate bread successfully. Each ingredient and technique is important. They help make a delicious, moist, and rich chocolate bread that will wow your loved ones.
Classic Chocolate Bread Recipe

Making the best chocolate bread at home is simple. This easy recipe turns your baking into a delightful, rich chocolate treat. It’s great for breakfast or dessert.
To begin your chocolate bread adventure, collect these key ingredients:
- 2 cups all-purpose flour
- 1/2 cup unsweetened cocoa powder
- 1 cup granulated sugar
- 2 large eggs
- 1/2 cup vegetable oil
- 1 cup milk
- 2 teaspoons vanilla extract
- 2 teaspoons baking powder
- 1/2 teaspoon salt
Getting ready is crucial for the best chocolate bread. First, preheat your oven to 350°F (175°C). Then, grease a 9×5 inch loaf pan.
Mixing Instructions
- Sift dry ingredients in a large bowl
- Whisk wet ingredients in another bowl
- Combine wet and dry mixtures
- Stir until just combined – avoid overmixing
- Pour batter into the loaf pan
Bake your chocolate bread for 50-60 minutes. To check if it’s done, insert a toothpick. It should come out clean.
| Baking Detail | Specification |
|---|---|
| Oven Temperature | 350°F (175°C) |
| Baking Time | 50-60 minutes |
| Serving Size | 1 loaf (8-10 slices) |
Pro tip: Let your chocolate bread cool completely before slicing. This ensures perfect texture and easy cutting.
Double Chocolate Yeast Bread Variation
Take your baking to the next level with a rich double chocolate bread. This yeast-based dark chocolate bread has a complex flavor that quick breads can’t match.
Making the perfect double chocolate bread needs patience and care. Yeast-based recipes require more attention to technique and ingredients than quick breads do.
Preparing the Yeast Mixture
To start your double chocolate bread, activate the yeast correctly. You’ll need:
- Warm water (110°F)
- Active dry yeast
- A pinch of sugar
- High-quality cocoa powder
Kneading and Proofing Techniques
Kneading is key for a tender dark chocolate bread. Here’s what to do:
- Knead dough for 8-10 minutes
- Allow first rise in warm environment
- Punch down and reshape
- Let rise a second time
“Great bread is an art form that requires patience and practice.” – Professional Baker
Baking Instructions
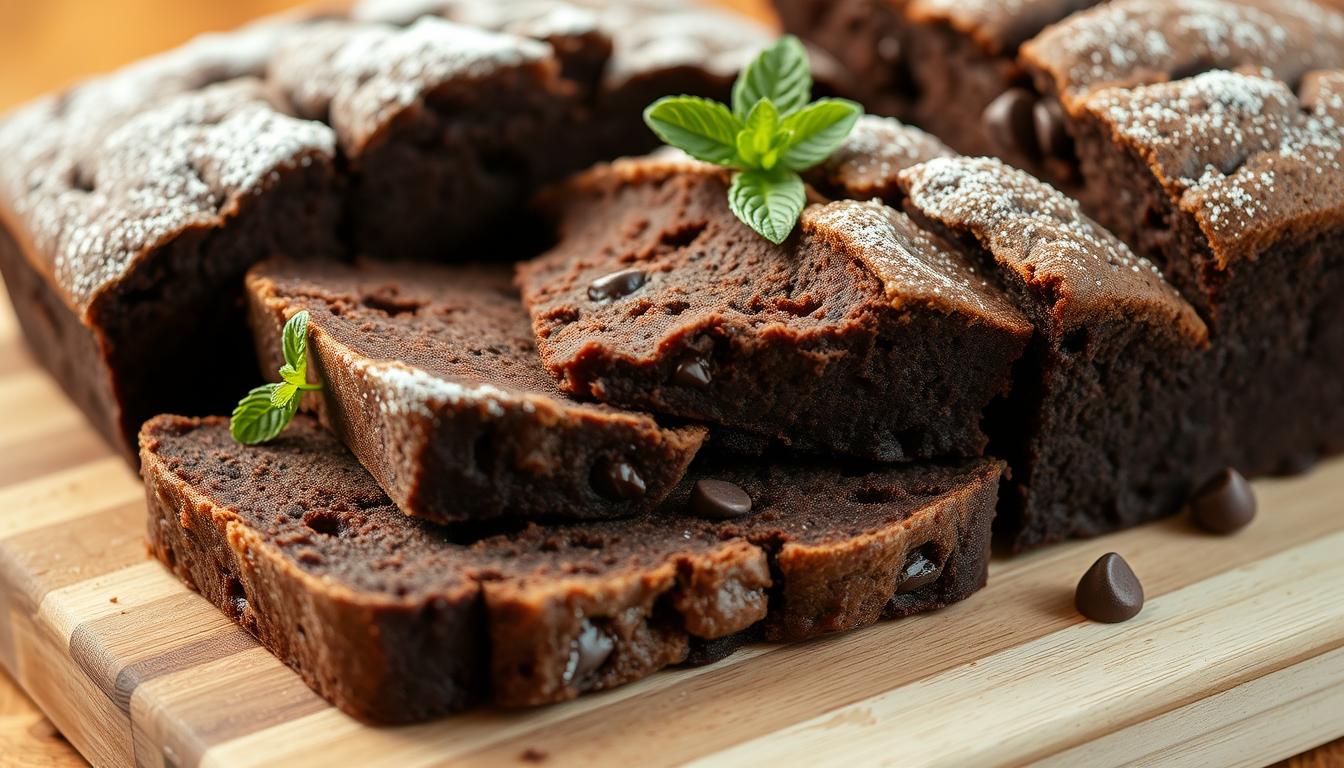
Bake your chocolate yeast bread at 375°F for about 35-40 minutes. It should have a golden-brown crust and sound hollow when tapped.
Pro tip: Sprinkle extra chocolate chips on top during the final few minutes of baking. It adds a delicious touch to your double chocolate bread.
Best Ingredients for Perfect Chocolate Bread
Creating the best chocolate bread starts with choosing top-notch ingredients. Your choice of cocoa powder and chocolate can make a big difference. It can turn a simple recipe into a rich, dark chocolate bread experience.
When making your chocolate bread, focus on these key ingredients:
- High-quality cocoa powder
- Dark chocolate chips
- Fresh eggs
- Unsalted butter
- Pure vanilla extract
The secret to amazing chocolate bread is knowing about cocoa varieties. Dutch-processed cocoa has a smoother, less acidic taste than natural cocoa. For the richest dark chocolate bread, choose cocoa with at least 70% cocoa content.
| Ingredient | Quality Impact | Recommended Type |
|---|---|---|
| Cocoa Powder | Flavor Depth | Dutch-processed, 70%+ cocoa |
| Chocolate Chips | Texture/Richness | Dark chocolate, 60-70% cocoa |
| Butter | Moisture | European-style, unsalted |
Pro tip: Adding a tablespoon of strong brewed coffee can make your chocolate bread’s flavor even better. It adds a complex and robust taste.
Tips for Moist and Rich Texture
Making the perfect homemade chocolate bread is more than just a recipe. It’s about controlling moisture, using the right baking techniques, and storing it correctly. With a few expert tips, your chocolate bread can go from good to great.
Moisture Control Strategies
To make your chocolate bread moist, start with the right ingredients. Here are some tips:
- Choose vegetable oil over butter for more moisture
- Add Greek yogurt or sour cream for extra softness
- Use room temperature eggs for better mixing
- Don’t overmix the batter to avoid tough bread
Precise Temperature Guidelines
Temperature is key for perfect homemade chocolate bread. Follow these expert tips:
- Preheat your oven to exactly 350°F (175°C)
- Use an oven thermometer for precise heat
- Put the bread in the center rack for even baking
- Don’t open the oven door for the first 30 minutes
Smart Storage Solutions
Keeping your chocolate bread fresh is all about smart storage. Wrap it in plastic wrap or foil and keep it at room temperature for 2-3 days. For longer storage, freeze individual slices in airtight containers for up to a month.
Pro tip: Always let your chocolate bread cool completely before storing to prevent moisture buildup.
Creative Mix-ins and Variations

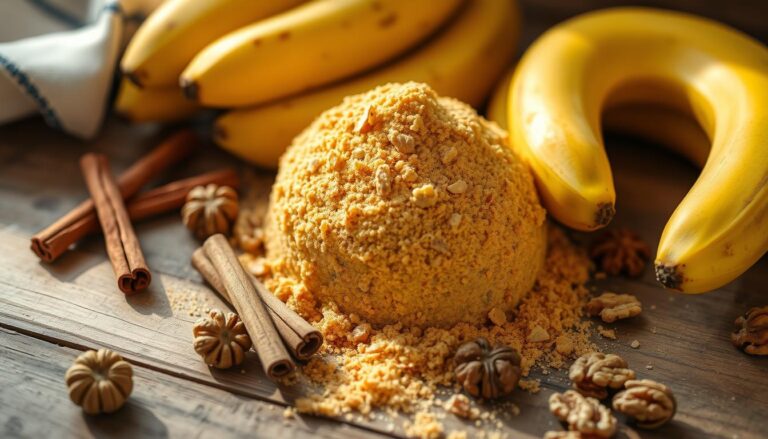
Make your chocolate bread special by trying new mix-ins and variations. It’s all about being creative and open to new ingredients. This can turn your chocolate banana bread or swirl bread into something amazing.
Think about adding mix-ins that make your bread more interesting. Here are some great ideas:
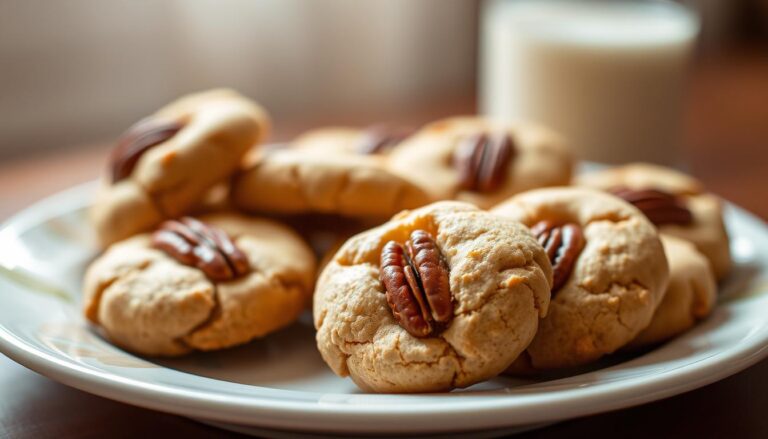
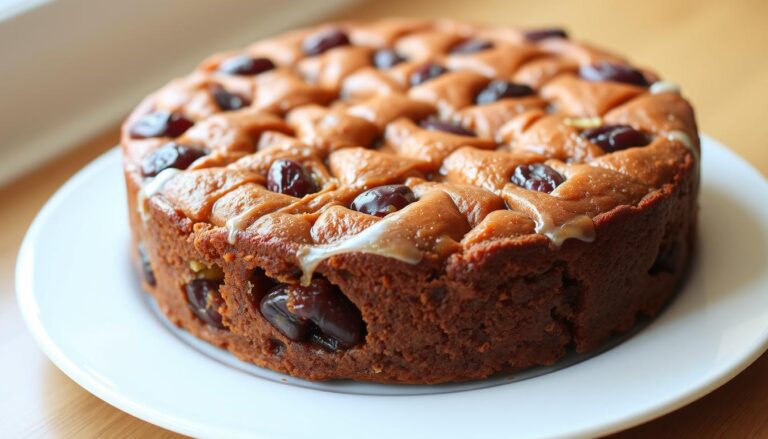
- Nuts: Chopped walnuts or pecans add a satisfying crunch
- Dried Fruits: Raisins or cranberries provide sweet bursts of flavor
- Tropical Additions: Shredded coconut or pineapple chunks for unexpected twists
For a unique chocolate banana bread, focus on keeping it moist and flavorful. Very ripe bananas are essential for a tender loaf. Adding buttermilk can make the bread even better. It adds moisture and a tangy taste that balances the chocolate.
| Mix-in Category | Recommended Ingredients | Flavor Profile |
|---|---|---|
| Nuts | Walnuts, Pecans, Almonds | Crunchy, Earthy |
| Fruits | Raisins, Cranberries, Pineapple | Sweet, Tangy |
| Flavor Enhancers | Vanilla Extract, Coconut Flakes | Aromatic, Tropical |
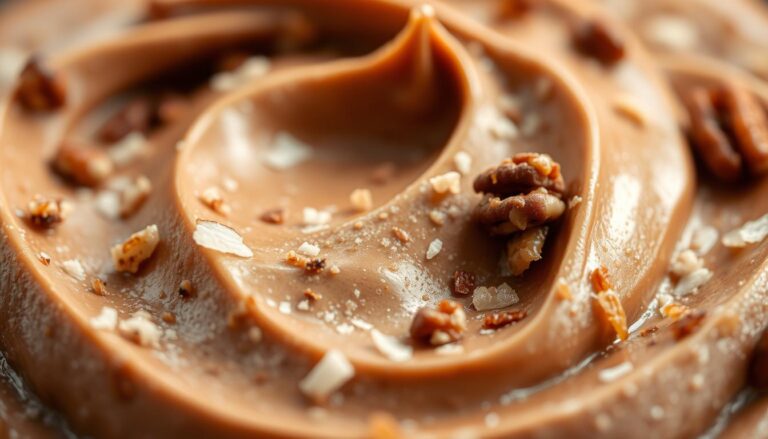
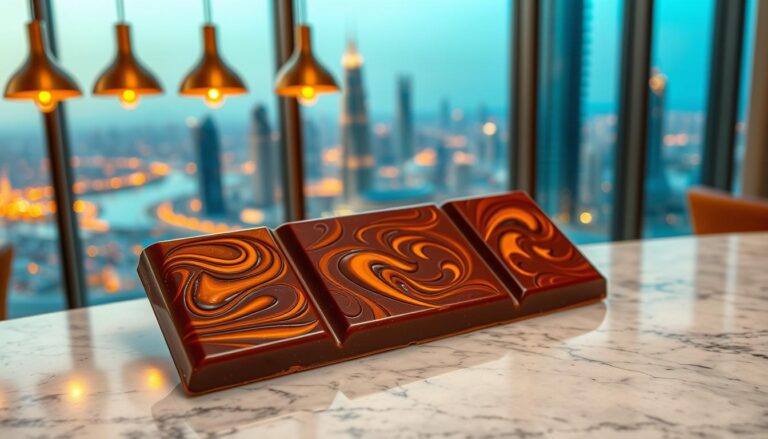
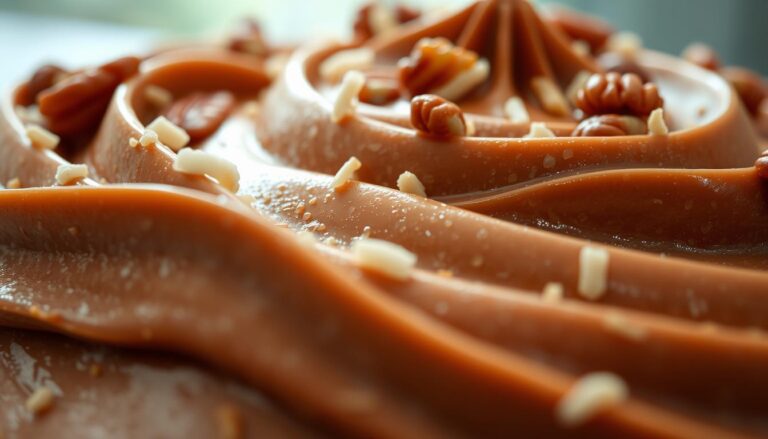
To make a stunning chocolate swirl bread, learn how to marble. Mix melted dark chocolate into some batter. Then, layer and swirl it in the loaf pan. This creates a beautiful bread with a rich chocolate taste.
Pro tip: When swirling batters, use a light hand to maintain distinct chocolate patterns without completely mixing the colors.
Troubleshooting Common Baking Issues
Baking the perfect easy chocolate bread recipe can be tough, even for pros. Knowing common problems helps you make delicious homemade chocolate bread with ease.
Every baker faces challenges when making chocolate bread. Learning to spot and fix these issues can make baking better.
Texture Challenges in Chocolate Bread
Dry or dense texture often comes from wrong measurements or bad ingredients. Here’s what to check:
- Measure ingredients precisely using weight measurements
- Ensure ingredients are at room temperature
- Use fresh cocoa powder and flour
- Don’t overmix the batter
Rising and Proofing Difficulties
Inadequate rising can mess up your homemade chocolate bread. Focus on these important points:
| Issue | Potential Cause | Solution |
|---|---|---|
| No Rise | Expired Yeast | Replace yeast, check expiration date |
| Slow Rising | Cold Kitchen | Create warm proofing environment |
| Uneven Rise | Inconsistent Kneading | Knead dough thoroughly |
Baking Technique Adjustments
Uneven baking can come from oven issues or where you place it. Try these tips for your easy chocolate bread recipe:
- Preheat oven completely
- Use an oven thermometer
- Rotate bread midway through baking
- Shield edges with aluminum foil if browning too quickly
“Perfecting chocolate bread is an art of precision and patience.” – Baking Experts
Remember, practice makes perfect. Each baking attempt brings you closer to mastering your homemade chocolate bread technique.
Serving and Pairing Suggestions
Your homemade chocolate bread is perfect for many serving styles. It can turn a simple meal into a special treat. The rich flavor of chocolate bread impresses everyone.
Here are some creative ways to enjoy your best chocolate bread:
- Serve warm with a pat of creamy butter for a classic breakfast treat
- Create indulgent French toast by dipping slices in a custard mixture
- Use as a base for elegant bread pudding desserts
- Slice and toast for a quick morning snack
Beverage pairings can make your chocolate bread even better. Consider these delicious combinations:
- Hot coffee with a robust flavor
- Cold milk for a comforting blend
- Chai tea for a spicy complement
- Hot chocolate for an extra chocolatey moment
When you’re hosting, show off your chocolate bread as a fancy dessert. Add powdered sugar, chocolate sauce, or fresh berries. It will wow your guests.
“A slice of chocolate bread is more than just food—it’s an experience of comfort and joy.”
Storage and Freezing Methods
Keeping your homemade chocolate bread fresh is key. It needs special care to stay tasty and soft. This ensures it stays fresh for longer.
For short-term storage, keep it at room temperature. Use an airtight container or plastic wrap. This keeps it fresh for 2-3 days. Pro tip: Always cool the bread completely before storing to prevent moisture buildup.
- Use airtight containers with sealed lids
- Wrap individual slices in plastic wrap
- Store away from direct sunlight and heat sources
Freezing is great for long-term storage. Here’s how to keep your bread fresh:
- Allow bread to cool completely
- Wrap tightly in plastic wrap
- Place in a freezer-safe bag or container
- Label with the date of freezing
“Proper storage is the secret to enjoying homemade chocolate bread for weeks after baking!” – Baking Experts
To thaw frozen chocolate bread, let it sit at room temperature. Don’t microwave it, as it can dry out. For a fresh taste, warm it in the oven at 300°F for 5-10 minutes.
Don’t store chocolate bread in the fridge. It can become stale and dry faster than room temperature storage.
Conclusion
Your journey in making homemade chocolate bread has been thrilling. You’ve learned from the basics to mastering baking techniques. This has turned simple ingredients into amazing treats.
Making chocolate bread at home lets you try new flavors and textures. It’s something store-bought breads can’t offer. You can experiment and create unique breads.
Baking chocolate bread is more than just a recipe. It’s about knowing how ingredients work together. It’s about getting better at baking and feeling confident in the kitchen.
Every loaf you make is a personal win. It can become a favorite dish for your loved ones. Your bread can be simple or complex, depending on what you like.
Baking is always something new to learn. Every batch of bread is a chance to get better and find your own style. Try different chocolates and ingredients to make your bread special.
With time and effort, you’ll become a skilled bread maker. You’ll be able to make bread as good as any bakery. Your kitchen will be filled with the delicious smell of homemade chocolate bread.
Your baking journey is just starting. Each slice of bread tells a story of your creativity and love for baking. Keep exploring, learning, and enjoying the tasty results of your baking adventures.
FAQ
What’s the difference between quick chocolate bread and yeast-based chocolate bread?
Can I make chocolate bread gluten-free?
How can I intensify the chocolate flavor in my bread?
What are some good mix-ins for chocolate bread?
How long can I store homemade chocolate bread?
Why did my chocolate bread turn out dry?
Can I make chocolate bread without eggs?
What’s the best way to serve chocolate bread?
Leave a review :
There are no reviews yet. Be the first one to write one.