How to Perfect Your Baking Pie Crust: Essential Tips
Every great pie starts with a perfect pie crust. My grandmother’s kitchen always smelled of warm, buttery pastry. She taught me that baking pie crust is an art passed down through generations. Whether you’re new to baking or want to improve your skills, this guide will change your kitchen experiences.
Creating a perfect pie crust might seem hard, but it’s achievable with the right techniques. The key is understanding the balance of ingredients and methods. These create a flaky, tender base for your favorite pies.
A great crust can make or break your dessert. I’ll share professional tips to help you make a pie crust so delicious. Your family and friends will be asking for your recipe.
Table of Contents
Key Takeaways
- Master the fundamental techniques of baking pie crust
- Learn how temperature impacts crust quality
- Understand the crucial balance of ingredients
- Discover professional tips for achieving flakiness
- Build confidence in your baking skills
Understanding the Fundamentals of Pie Crust Making
Making a perfect homemade pie crust is more than just mixing ingredients. It’s a delicate art that combines science, technique, and precision. Learning how to make homemade pie crust unlocks the secrets to a memorable baking experience.
The magic of a pie crust recipe lies in understanding how ingredients interact. Let’s dive into the fascinating world of pie crust creation.
The Science Behind Flaky Crusts
Flakiness is the hallmark of an exceptional pie crust. The secret? It’s all about the interaction between fat and flour. When cold butter is cut into flour, it forms thin layers that create steam during baking. This steam puffs the dough, resulting in those coveted flaky textures.
Essential Equipment for Pie Making
- Pastry Blender: Perfect for cutting cold fat into flour
- Glass Mixing Bowls: Stay cool during mixing
- Tapered Rolling Pin: Provides excellent control
- Bench Scraper: Helps transfer and clean dough
- 9-inch Pie Plate: Standard size for most recipes
Basic Ingredients Overview
| Ingredient | Purpose |
|---|---|
| Flour | Provides structural foundation |
| Salt | Enhances flavor profile |
| Butter | Creates rich flavor and flakiness |
| Cold Water | Binds ingredients together |
Mastering your pie crust recipe requires patience and practice. Cold ingredients and minimal handling are your best friends when creating the perfect homemade pie crust.
The Role of Temperature in Baking Pie Crust
Mastering the art of baking pie crust is all about temperature. It can turn a baking disaster into a culinary success.

Cold ingredients are key to a great pie crust. Warm fat, like butter, mixes too well with flour. This destroys the flaky layers you want. Keeping everything cold prevents this.
- Refrigerate butter for at least 30 minutes before starting
- Chill your mixing bowl and utensils
- Use ice water instead of room temperature water
- Work quickly to prevent ingredient warming
Professional bakers know temperature control is crucial. On warm days, take extra care. If your kitchen is hot, pause and cool down your ingredients.
Your aim is to keep butter in small, cold pieces. These tiny chunks create steam in the oven. This makes your pie crust crisp and delicate.
Pro tip: If your dough feels warm while rolling, refrigerate it for 10-15 minutes to restore the ideal temperature.
Patience and temperature control are your best friends for a delicious pie crust.
Essential Ingredients for the Perfect Pie Crust
To make the best pie crust, you need to know the key ingredients. Start by picking the right parts for a flaky, tasty base for your pies.
Choosing the Right Flour
Unbleached all-purpose flour is the best for pie crusts. It has more protein, making the crust strong and keeping its shape. The natural flavor of unbleached flour makes the pie taste better.
- Higher protein content for better structure
- More natural flavor profile
- Prevents fragile or collapsing crusts
Butter vs Shortening Debate
The choice between butter and shortening is key for a great pie crust. Butter adds flavor and makes the crust light and flaky. Shortening makes it tender because it melts slower.
“The secret to an exceptional pie crust lies in understanding how fats interact during baking.”
The Importance of Salt and Sugar
Salt and sugar are important in your pie crust. Salt makes the flavors better and strengthens the crust. Sugar helps it brown nicely and adds sweetness.
- Salt balances flavors
- Sugar aids in caramelization
- Both ingredients improve crust quality
Pro tip: Adding a bit of vinegar to your pie crust recipe is a good idea. It keeps the crust tender and fresh-looking, impressing everyone.
Mastering the Art of Baking Pie Crust
Creating a perfect pie crust needs precision and practice. Your journey starts with understanding the balance of ingredients and technique. A flaky, tender crust comes from minimal handling and careful preparation.

When baking pie crust, temperature and technique are key. Follow these essential steps for success:
- Keep ingredients ice-cold to prevent gluten development
- Use a light touch when mixing dough
- Rest the dough in the refrigerator for at least 30 minutes
- Practice the pinch test to check dough consistency
The art of a perfect pie crust involves understanding visual and textural cues. Watch for these signs during preparation:
| Stage | Ideal Characteristics |
|---|---|
| Mixing | Pea-sized butter chunks, crumbly texture |
| Hydration | Dough holds together when gently pressed |
| Resting | Smooth, relaxed dough that’s easy to roll |
Professional bakers know that overworking dough creates tough crusts. Treat your pie crust gently, and you’ll get a light, flaky result. This will impress even the most discerning dessert lovers.
Food Processor vs Hand Mixing Methods
Learning to make homemade pie crust introduces you to two main mixing techniques: food processor and hand mixing. Each method has its own benefits for making a flaky and tasty pie crust.
The choice of mixing method greatly affects your pie crust’s texture and taste. Knowing the advantages and disadvantages of each method is key to mastering pie crust making.
Food Processor Technique
The food processor method is quick and efficient for making pie crust. Here’s how to do it right:
- Chill all ingredients before starting
- Cut cold butter into small cubes
- Pulse ingredients in short, quick bursts
- Stop mixing when dough resembles coarse crumbs
- Avoid overprocessing to prevent tough crust
Traditional Hand-Mixing Approach
Hand mixing gives you more control and is great for beginners. It lets you feel the dough’s texture as you mix.
- Use a pastry cutter or two knives
- Cut cold butter into flour until pea-sized pieces form
- Gradually add ice water
- Mix gently until dough just comes together
- Avoid excessive handling
Pro tip: Whichever method you choose, keeping ingredients cold is crucial for creating a tender, flaky easy pie crust that will impress your family and friends.
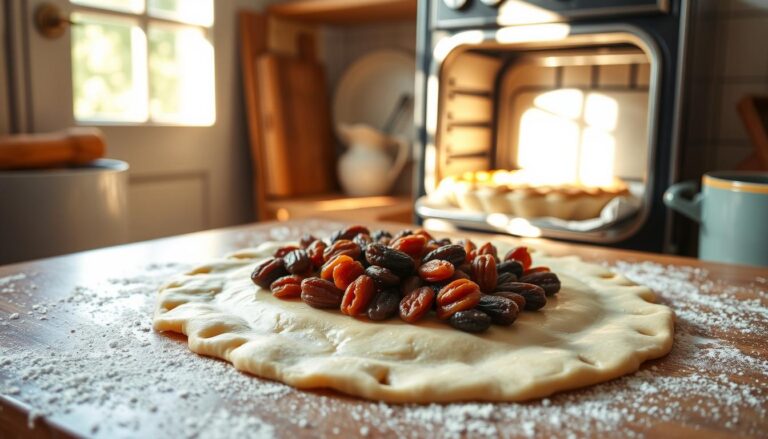
Rolling and Shaping Techniques
Learning to roll and shape your pie crust is key for a flaky crust. The right method can turn a simple dessert into a beautiful dish.
First, prepare a clean, lightly floured surface. Your dough should be cold and firm. Here’s how to roll it:
- Start rolling from the dough’s center, moving outward
- Keep rotating the dough to keep it round
- Use just a little flour to avoid sticking
- Try to roll it evenly, about 1/8 inch thick
For a flaky pie crust, handle the dough gently. Don’t stretch it when putting it in the pie plate. This can make it shrink in the oven. Instead, fold the dough in quarters and then unfold it in the plate.
Pro tip: Let your rolled dough rest in the fridge for 15 minutes before shaping. This helps prevent it from shrinking.
For fancy edges, try these:
- Crimp with your fingers
- Make patterns with a fork
- Use a small cookie cutter for shapes
Remember, the more you practice, the better you’ll get at making your pie crust. Don’t worry if it’s not perfect at first. Every pie is a chance to get better at baking.
Common Troubleshooting for Pie Crust Problems
Making the perfect pie crust can be tough, even for experts. Knowing how to solve common problems can help you make a crust that looks and tastes great. Let’s look at some common issues and how to fix them.
To bake a perfect pie crust, you need precision and practice. Learning how to spot and fix problems will improve your baking. It will help you make delicious desserts every time.
Fixing Tough Crusts
Tough crusts usually come from overworking the dough or too much water. For a tender, flaky crust:
- Mix ingredients just enough
- Use cold butter or shortening
- Chill the dough before rolling
- Handle the dough carefully
Preventing Shrinkage
Shrinkage in pie crusts can be a big problem. To avoid it:
- Don’t stretch the dough when putting it in the pan
- Let the dough rest before baking
- Trim excess dough without pulling
Addressing Soggy Bottoms
A soggy bottom can mess up an otherwise perfect pie crust. Here are some ways to fix it:
| Technique | Description |
|---|---|
| Blind Baking | Pre-bake crust with weights to create barrier |
| Higher Oven Temperature | Start baking at 425°F to crisp bottom crust |
| Egg Wash | Brush bottom with beaten egg to create moisture barrier |
By using these tips, you’ll get better at making perfect pie crusts. They’ll be delicious and look great too.
Pre-Baking and Blind Baking Tips
Mastering blind baking is key for perfect pies with no-bake fillings. It keeps the crust crisp and golden. This makes a great base for your favorite recipes.
Blind baking is a must for some pies. Here’s how to get a perfect pie crust:
- Prepare your pie crust and chill it well
- Line the crust with parchment paper or aluminum foil
- Fill with pie weights or dried beans to prevent bubbling
- Bake at a consistent temperature
Your blind baking technique is crucial. Temperature and timing are key for a crisp, golden crust.
“The secret to a perfect pie is in the crust preparation” – Professional Pastry Chef
Here are key tips for blind baking:
- Preheat your oven to 375°F (190°C)
- Bake with weights for 15-20 minutes
- Remove weights and continue baking until edges turn golden
- Allow crust to cool completely before adding filling
| Pie Type | Blind Baking Needed | Baking Time |
|---|---|---|
| Custard Pies | Yes | 20-25 minutes |
| Cream Pies | Yes | 15-20 minutes |
| Fruit Pies | Optional | 10-15 minutes |
Getting good at blind baking takes time. Don’t worry if it’s not perfect at first. With practice, you’ll make pie crusts everyone will love.
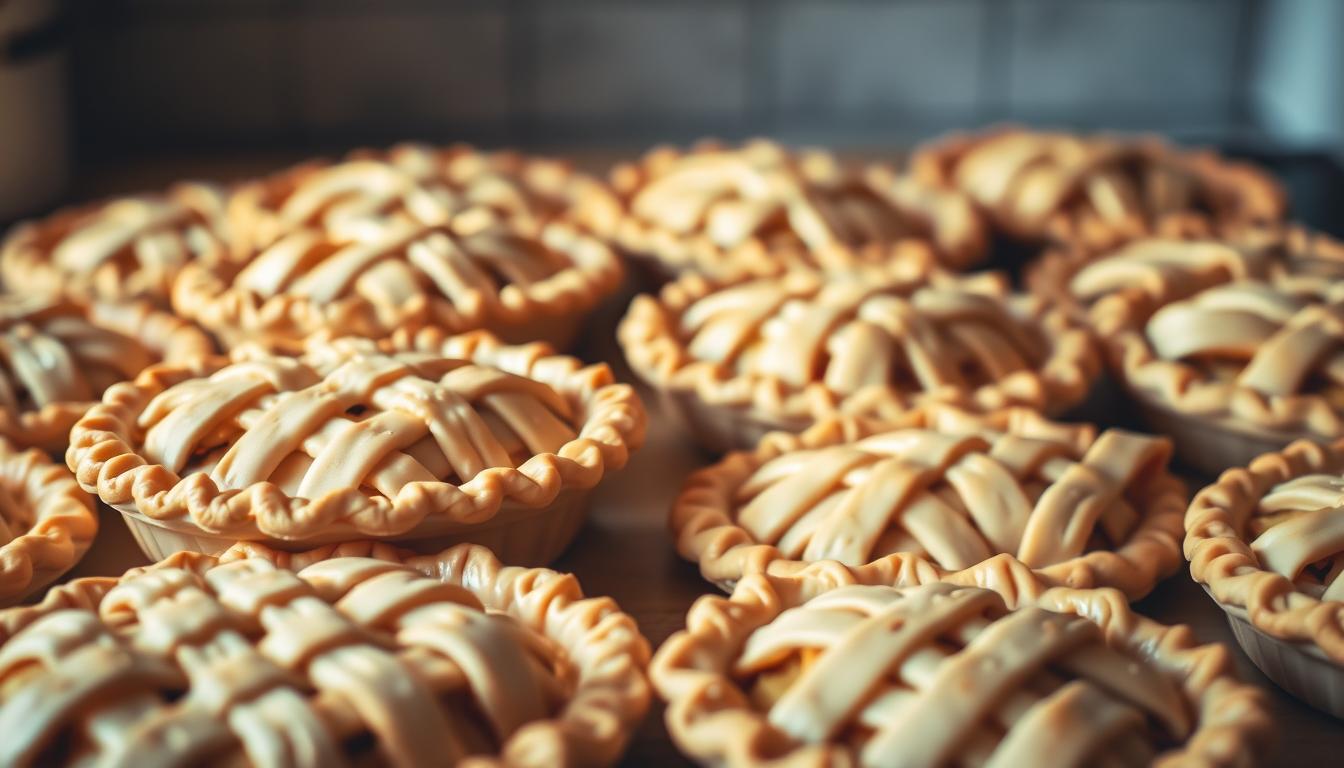
Advanced Decorative Techniques for Pie Crusts
Take your pie crust recipe to the next level with advanced techniques. A perfect pie crust is not just tasty. It’s also a chance to show off your creativity in the kitchen.
Discover these amazing ways to make your pie look stunning:
- Lattice Work: Make beautiful patterns by cutting dough strips
- Braided Edges: Create fancy borders with dough strands
- Cutout Designs: Add a touch of art with pastry shapes
To make a diagonal lattice top, start with 18 dough strips. Place three strips side by side on the pie. Then, fold and weave more strips to make a cool geometric design.
“A beautifully decorated pie crust tells a story before the first bite is taken.”
For braided crusts, make sure the dough is the same thickness. Cut 33-36 thin strips. Then, braid them carefully, keeping each strand the same width to avoid breaking.
Here are some tips to keep your pie crust design looking great:
- Keep the dough cold while you work
- Use egg wash for a golden look
- Freeze cutout shapes before applying
- Use pastry stamps for detailed designs
Whether you want a Springtime Garden Wreath or a classic crimped edge, these techniques will make your pie crust look amazing. It will be as beautiful as it is delicious.
Conclusion
Mastering the best pie crust recipe takes patience and practice. Your journey starts with understanding the basic techniques we’ve covered. Every great baker began where you are now, learning and trying different methods.
Remember, your perfect pie crust will come with time and effort. Each try teaches you something new about ingredients, temperature, and technique. Don’t get discouraged by early failures – even top pastry chefs faced many challenges.
The art of baking is very personal. What works in one kitchen might need tweaks in another. Your unique touch and exploration will lead to a pie crust recipe that’s yours alone. Enjoy the learning, and relish the tasty outcomes of your baking journey.
Homemade pie crusts bring something special: love, creativity, and a link to baking’s past. With what you’ve learned, you’re ready to make stunning, delicious crusts. They’ll wow your family and friends.
FAQ
What’s the secret to making a truly flaky pie crust?
Can I make pie crust without a food processor?
Why does my pie crust shrink when baking?
What’s the difference between butter and shortening in pie crust?
How do I prevent a soggy bottom in my pie?
How long can I store pie crust dough?
Can I make pie crust ahead of time?
What’s the purpose of adding vinegar to pie crust?
How do I know when my pie crust is properly mixed?
What type of flour is best for pie crust?
Leave a review :
There are no reviews yet. Be the first one to write one.