How Long to Cook Pie Crust: Perfect Bake Time for Crispy Results
Every great baker knows the magic happens in those golden moments of creating the perfect pie crust. I remember watching my grandmother’s hands gracefully work the dough. Her secret to understanding how long to cook pie crust was etched in decades of baking wisdom. The kitchen would fill with anticipation, the aroma of butter and flour transforming into something extraordinary.
Mastering the best pie crust cooking time isn’t just a technique—it’s an art form. It separates good bakers from great ones. Whether you’re preparing a classic apple pie or an elegant custard tart, the crust is your culinary canvas. Getting the baking time right means the difference between a soggy disappointment and a crisp, flaky masterpiece.
In this guide, you’ll discover the precise techniques to create pie crusts that will make your family and friends marvel at your baking skills. We’ll explore every nuance of crust preparation, from ingredient selection to perfect baking temperatures.
Table of Contents
Key Takeaways
- Understanding precise pie crust baking times is crucial for perfect results
- Temperature and ingredient quality significantly impact crust texture
- Different pie types require unique baking approaches
- Proper technique matters more than complicated recipes
- Practice and patience are key to mastering pie crust
Understanding the Basics of Pie Crust Making
Making the perfect pie crust is more than just mixing ingredients. It’s about knowing the science behind making the crust. You also need to master key techniques for the right cooking time.
Essential Ingredients for Perfect Pie Crust
To make an amazing pie crust, start with the best ingredients. You’ll need:
- All-purpose flour (base of the crust)
- Unsalted butter (for rich flavor)
- Ice-cold water
- Kosher salt
- Optional sugar for sweet pies
The Role of Temperature in Crust Making
Temperature is key for a perfect pie crust. Cold ingredients help avoid tough crusts. Keep your butter cold until mixing, and use ice water for the best temperature.
Different Types of Fats Used in Pie Crusts
The fat you choose changes the crust’s texture and taste. Each fat has its own benefits:
| Fat Type | Characteristics | Best Used For |
|---|---|---|
| Butter | Rich flavor, flaky texture | Sweet and savory pies |
| Shortening | Extremely flaky, neutral taste | Lighter, more delicate crusts |
| Lard | Crisp texture, traditional flavor | Savory meat pies |
Knowing these basics will help you become a pie crust master. You’ll get delicious results every time with the right cooking time.
How Long to Cook Pie Crust: A Complete Guide

Knowing how long to bake a pie crust is key to a great pastry. Each type of pie crust needs a specific baking time to get that perfect golden, flaky texture.
Several factors affect how long to bake a pie crust. The type of pie, filling, and baking method all play a role. Professional bakers stress the importance of precision in making the best pie crust.
“A perfectly baked pie crust is an art form that requires patience and attention to detail.” – Pastry Chef Sarah Miller
Here are some top tips for baking pie crusts:
- Single-crust pies usually bake for 45-50 minutes.
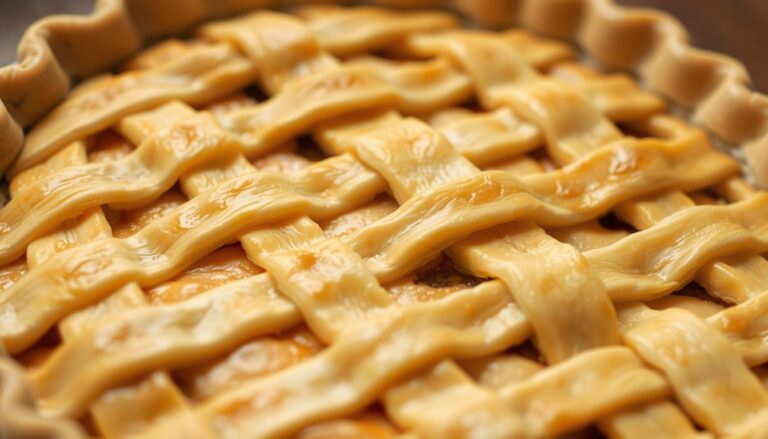
- Double-crust pies need about 60-75 minutes.
- Pre-baked crusts require careful timing to avoid burning.
| Pie Crust Type | Typical Baking Time | Temperature |
|---|---|---|
| Single-Crust Pie | 45-50 minutes | 375°F |
| Double-Crust Pie | 60-75 minutes | 350°F |
| Pre-Baked Crust | 15-20 minutes | 425°F |
Visual cues are crucial to check if your pie crust is done. Look for a golden-brown color and a crisp, flaky texture. Always use a reliable oven thermometer for accurate temperature readings.
Remember, every oven is unique. So, keep a close eye on your pie crust. Be ready to make slight adjustments for the best results.
Preparing Your Pie Crust for Baking
Mastering pie crust preparation is key to making the perfect pie. It starts with understanding how to handle the dough. This is the first step in the ultimate guide to pie crust baking.
Before you start making your pie, make sure your dough is ready. The right techniques can turn a simple pie into a culinary work of art.
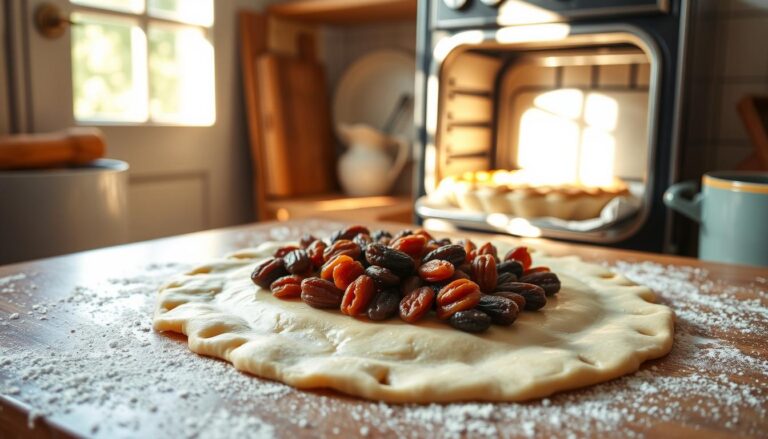
Proper Rolling Techniques
Rolling out pie dough needs precision and care. Here are the essential steps:
- Chill the dough well before rolling
- Use a lightly floured surface to prevent sticking
- Roll to about 1/8 inch thickness
- Make a circle 3 inches bigger than your pie plate
“The secret to a perfect pie crust lies in the gentle touch and careful preparation.” – Baking Experts
Transferring Dough to the Pie Dish
Transferring your dough needs a gentle touch. Key tips include:
- Lift dough carefully using a rolling pin
- Drape it gently over the pie dish
- Let it settle naturally into corners
- Avoid stretching or forcing the dough
Crimping and Decorative Edges
Crimping is more than just looks; it’s crucial for the crust’s texture and baking. Different crimping methods can change how your crust turns out.
| Crimping Technique | Characteristic | Baking Impact |
|---|---|---|
| Finger Crimp | Uniform pattern | Even edge support |
| Rope Crimp | Twisted design | Decorative thickness |
| Fork Crimp | Simple lines | Crisp edge potential |
Remember, how you prepare your pie crust is the foundation of a delicious pie. Take your time, be gentle, and enjoy making the perfect pie.
Temperature Settings for Different Pie Crust Types

To get the perfect pie crust, you need to know the right oven temperature. The temperature affects how golden and flaky your crust will be. Every baker wants that perfect crust.
The baking time for pie crusts usually ranges from 350°F to 425°F. This depends on the recipe and the type of crust. Each crust type needs a specific temperature:
- Butter-based crusts: Best at 375°F for a rich, crisp texture
- Shortening crusts: Work best at 400°F for flakiness
- Combination crusts: Do well at 375°F-385°F
Professional bakers say the key to a great crust is the temperature. Make sure your oven is accurate. Use an oven thermometer for even heat.
The secret to a perfect pie crust lies in understanding how temperature transforms your ingredients into a delectable culinary masterpiece.
When baking your pie, remember to adjust the temperature for blind baking and filled pies. Keep an eye on your crust while it bakes. This prevents it from burning or being undercooked.
Pre-Baking Techniques for Perfect Results
Getting a perfect pie crust is all about using the right methods. Blind baking is key to a crisp, golden crust. It stops the soggy bottom that can mess up a great pie.
Blind baking is a must for pies with wet fillings or those that cook fast. It’s perfect for:
- Lemon meringue pies
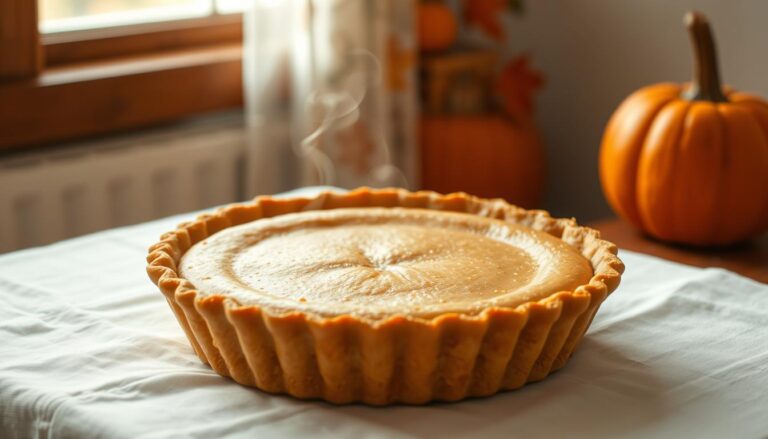
- Pumpkin pies
- Cream pies
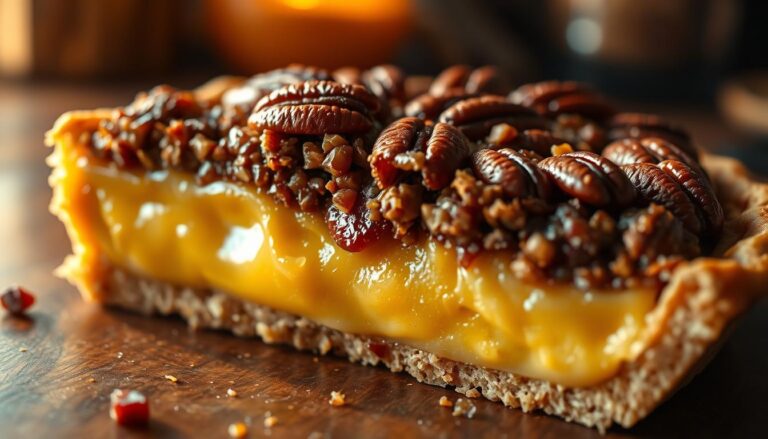
- Pecan pies
Mastering Blind Baking Methods
To get the best pie crust, follow these steps:
- Chill your pie dough before rolling
- Roll out dough and place in pie dish
- Chill the shaped crust to prevent shrinkage
- Line with parchment paper or aluminum foil
Using Pie Weights Effectively
Pie weights are essential for a perfect crust. They stop the crust from puffing up or shrinking. Here’s how to use them:
| Weight Type | Best For | Pro Tip |
|---|---|---|
| Ceramic Beads | Even heat distribution | Fill to top edge of pie plate |
| Dried Beans | Budget-friendly option | Reuse for future blind baking |
| Rice | Flexible filling | Works well for smaller crusts |
Pro tip: After taking out the weights, always prick the crust with a fork. This stops bubbles. Then, bake until it’s golden brown for the best pie crust.
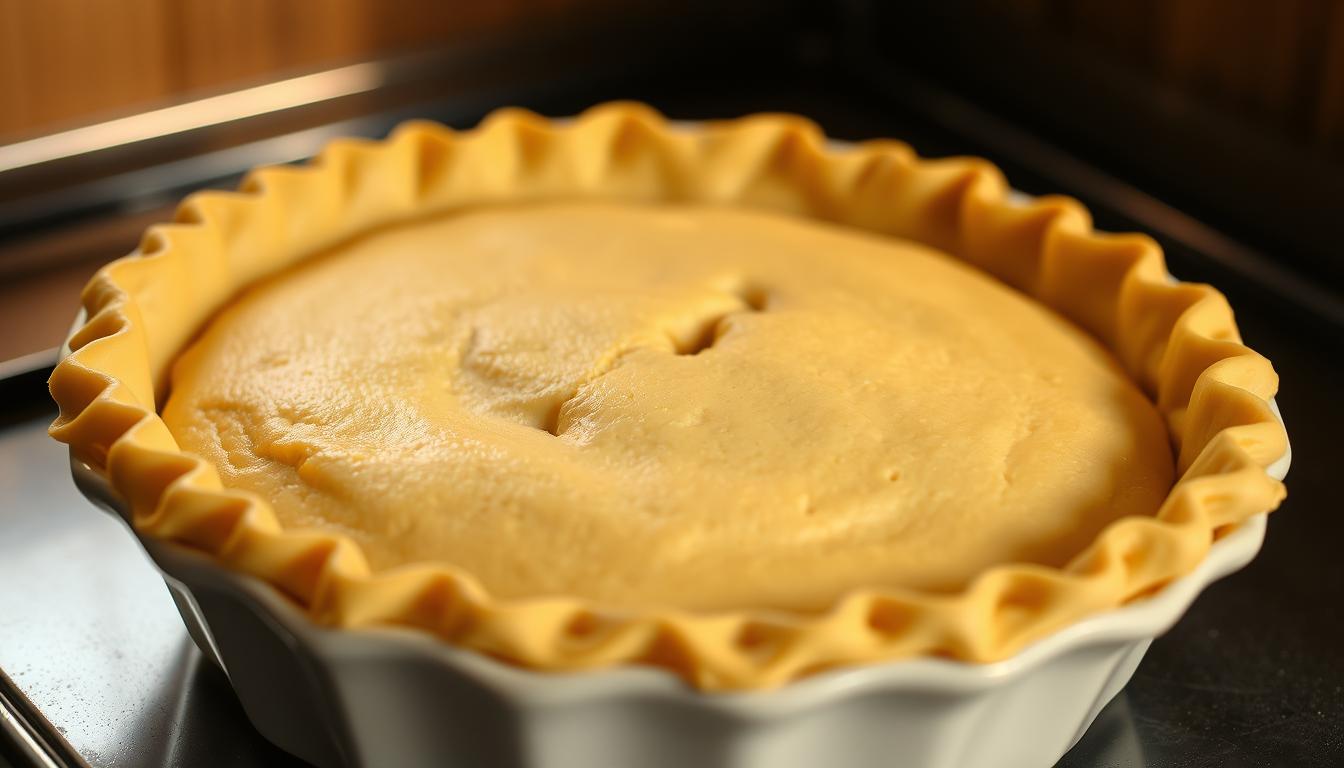
Signs of a Properly Baked Pie Crust
Getting the perfect bake time for pie crust is all about paying attention. You need to know what to look for in terms of appearance and texture. This will tell you if your pie crust is done just right.
Top tips from professional bakers include checking these important signs:
- Color: A perfectly baked crust should display a uniform golden-brown hue
- Texture: Look for a flaky, crisp exterior that breaks cleanly when cut
- Edges: Corners and rim should be slightly darker than the center
To check if your pie crust is done, tap it gently. A well-baked crust will sound hollow and feel firm. The bottom should be dry and light brown, not pale or soggy.
“A great pie crust is like a culinary canvas – its color and texture speak volumes about your baking skill.” – Professional Baker’s Wisdom
Watch out for these signs of underbaking or overbaking:
- Pale, soft crust indicates underbaking
- Dark brown or blackened edges suggest overbaking
- Greasy or wet-looking surface means insufficient cooking
With practice, you’ll get better at knowing when your pie crust is perfectly baked. Your baking will go from good to amazing.
Common Baking Time Adjustments
Getting your pie crust just right is all about knowing how different things affect your baking. It’s not just about following a recipe. It’s about adjusting for unique conditions that can change your results a lot.
When figuring out how long to bake a pie crust, two big things matter: altitude and pan type. These can really change how long it takes to bake and need careful attention.
Navigating High-Altitude Baking Challenges
Baking at high altitudes is tricky. The air pressure changes can affect cooking times and temperatures. Here are some tips for high-altitude baking:
- Reduce sugar by 1-2 tablespoons per cup
- Increase liquid by 2-4 tablespoons
- Decrease baking temperature by 15-25 degrees
- Extend baking time slightly to ensure proper cooking
Pan Type and Size Considerations
Each baking pan heats differently, which can change how long your pie crust cooks. Here’s how to adjust for different pans:
| Pan Type | Heat Conductivity | Recommended Adjustment |
|---|---|---|
| Metal | High | Standard baking times |
| Glass | Moderate | Reduce temperature by 25 degrees |
| Ceramic | Low | Increase baking time by 5-10 minutes |
By understanding these fine-tuned adjustments, you’ll get better at baking perfect pie crusts anywhere.
Troubleshooting Pie Crust Baking Issues
Mastering pie crust baking means knowing how to fix common problems. Your pie crust might face issues that could ruin your baking. But, with the right methods, you can beat these challenges.
Let’s look at the most common pie crust problems and how to solve them:
- Soggy Bottom Crust: The worst for bakers! To avoid it:
- Refrigerate your dough for 30 minutes before baking
- Use pie weights during blind baking
- Par-bake the crust before adding filling
- Shrinking Crust: Keep your crust from shrinking by:
- Avoid overworking the dough
- Chill the assembled pie for 30 minutes
- Use pie weights to keep it in shape
- Burnt Edges: Protect your crust from burning by:
- Use aluminum foil strips around the crust
- Remove foil for the last 15 minutes of baking
“The secret to perfect pie crust is patience and technique.” – Professional Baker
Uneven baking often comes from an uncalibrated oven. Always check your oven’s temperature with a thermometer. Handle the dough gently and mix it just enough. This will help you get a flaky, tender crust, the sign of a great pie.
Conclusion
Making the perfect pie crust is a journey of skill and patience. You now know foolproof methods for pie crust cooking. The right cooking time depends on the pie type and your recipe.
Success comes from understanding the basics we’ve covered. Temperature control and visual cues are key. Each step helps create a golden-brown, flaky crust that will wow everyone.
Don’t get discouraged by early setbacks. Pie crust baking is an art that needs practice and detail. Your knowledge of blind baking, temperature, and crust prep will help you make delicious pie crusts.
Enjoy the process, trust your instincts, and keep trying new things. With time and practice, you’ll become confident in making pie crusts that are truly delicious.
FAQ
How long should I bake a pie crust?
What is blind baking, and why is it necessary?
How can I prevent my pie crust edges from burning?
What’s the best fat to use for a flaky pie crust?
How do I know when my pie crust is fully baked?
How does altitude affect pie crust baking?
Can I make pie crust ahead of time?
What causes a soggy bottom in pie crusts?
Leave a review :
There are no reviews yet. Be the first one to write one.