How Long to Bake Pie Crust for Perfectly Flaky, Buttery Results
How long to bake pie crust : remember your first pie crust disaster? The dough was crumbly and tough, falling apart easily. I do. That moment made me want to learn how to make a perfect pie crust, just like my grandmother’s.
Pie crust can be scary for home bakers. Knowing how long to bake it can make all the difference. With the right techniques, you’ll make a pie crust that’s flaky and golden, the highlight of your desserts.
Baking a pie crust is more than just timing. It’s about getting the ingredients, temperature, and technique just right. This guide will help you through every step, making you a pastry master.
Table of Contents
Key Takeaways
- Master the art of creating a flaky, tender pie crust
- Learn precise baking times and temperatures
- Understand the science behind perfect pastry
- Overcome common pie crust challenges
- Build confidence in your baking skills
Essential Ingredients for the Perfect Pie Crust
Making a perfect pie crust needs precision and the right ingredients. Your success comes from choosing high-quality parts that work well together. Knowing how each ingredient helps is key to getting a flaky, tasty crust.
Temperature is very important for a great pie crust. Cold ingredients stop fat from melting too soon. This helps keep the crust flaky during baking.
The Role of Cold Butter and Shortening
Choosing the right fats is key to a successful pie crust. Cold butter and shortening make the crust flaky and irresistible.
- Use unsalted butter straight from the refrigerator
- Cut butter into small, uniform cubes
- Keep shortening chilled before mixing
Selecting the Right Flour Type
The type of flour you choose greatly affects the crust’s texture. All-purpose flour is best for most pies, giving a tender result.
- Choose unbleached all-purpose flour
- Avoid bread flour, which has too much protein
- Consider pastry flour for extra-tender crusts
Additional Ingredients for Enhanced Flavor
While basic ingredients are good, adding a bit more can make your crust amazing.
- Add a pinch of salt for depth
- Consider a teaspoon of sugar for sweetness
- Use apple cider vinegar to tenderize the dough
Pro tip: On hot days, chill your flour in the freezer to prevent butter from melting during preparation.
How Long to Bake Pie Crust
Getting the baking time right for pie crust is key to a golden, flaky base. The time needed depends on the crust type and your recipe.
For a standard pre-baked or blind-baked pie crust, follow these essential guidelines:
- Preheat your oven to 375°F
- Chill the prepared crust for 15-20 minutes before baking
- Line the crust with parchment paper or aluminum foil
- Fill with pie weights or dried beans
The baking process has two stages:
- Initial baking with weights: 12-15 minutes
- Final baking without weights: 10-12 minutes
Look for a light golden-brown color and a dry, crisp texture. Adjust times based on your pie crust type.
| Crust Type | Baking Temperature | Total Baking Time |
|---|---|---|
| Single Crust (Blind Bake) | 375°F | 22-27 minutes |
| Double Crust | 375°F | 45-50 minutes |
| Graham Cracker Crust | 350°F | 8-10 minutes |
Oven variations can affect baking times. Always watch your crust closely and adjust as needed.
The Science Behind Flaky Pie Crust
Making the perfect pie crust is a mix of science and skill. Knowing how molecules react during baking can make your pies amazing.
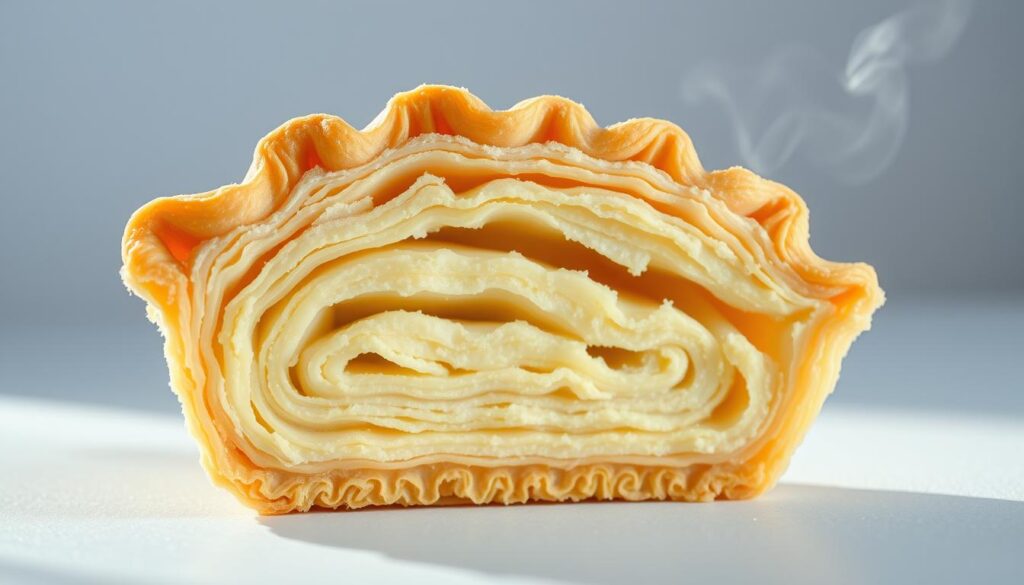
Pie crust needs the right chemical and physical reactions for its texture and taste. To succeed, you must master three key areas:
- Gluten development control
- Strategic temperature management
- Precise fat distribution techniques
Understanding Gluten Formation
Gluten is key to a good pie crust. When flour and liquid mix, proteins form a network. This network affects the crust’s texture.
Don’t overmix the dough. This keeps the crust flaky and delicate.
Temperature Control Techniques
Temperature is vital in making pie crust. Cold ingredients stop fat from melting too soon. This helps create flaky layers.
Keep butter and shortening cold. This ensures the best texture when baking.
Fat Distribution Methods
How you mix fat into the dough affects the crust’s quality. Use a pastry cutter or freeze-grated method. This creates small fat pockets.
These pockets turn into crispy layers during baking.
Essential Tools and Equipment
Want to bake a pie crust until it’s golden brown? The right tools are key. Start by picking the best equipment for a flaky, tasty pie.
Choosing the right pie plate is crucial. Different materials affect how your crust bakes and browns.
Pie Plate Materials
| Material | Pros | Best For |
|---|---|---|
| Glass | Even heating, see-through bottom | Fruit pies, checking crust color |
| Ceramic | Attractive design, retains heat | Decorative pies, custard fillings |
| Metal | Quick heating, crisp edges | Savory pies, prebaking crusts |
Essential Pie Baking Tools
- Rolling pin for even dough thickness
- Pastry blender to incorporate butter
- Pie weights for blind baking
- Bench scraper for handling dough
- Pastry brush for egg wash
Quality tools are essential for baking a pie crust until golden brown. Each tool has a special role in making that flaky texture every baker loves.
Step-by-Step Mixing Process
Making a perfect pie crust needs precision and knowing how to mix. The time it takes to bake your pie crust depends on how you mix the dough. Let’s explore the methods that will make your baking better.
Incorporating Wet and Dry Ingredients
The secret to a tender pie crust is in how you mix the ingredients. Follow these important steps:
- Keep all ingredients extremely cold
- Use ice-cold water sparingly
- Mix until dough just holds together
- Avoid overmixing to prevent tough crust
Proper Dough Handling Techniques
When working with your pie crust dough, be gentle. Shape it into a smooth disk that’s less than 1-inch thick. This ensures even edges for easy rolling.
| Technique | Purpose |
|---|---|
| Chill dough 30 minutes | Relax gluten, prevent shrinkage |
| Light rolling touch | Maintain tender texture |
| Quarter turn while rolling | Ensure even thickness |
Achieving the Right Consistency
The pie crust’s consistency greatly affects its baking time and texture. Here are some key tips:
- Use very cold butter, cut into small pieces
- Retain some larger fat chunks for flakiness
- Add minimal water to bind ingredients
- Chill dough before final shaping
By mastering these techniques, you’ll make a pie crust that looks great and tastes amazing. You’ll get perfect results every time.
Rolling and Shaping Techniques
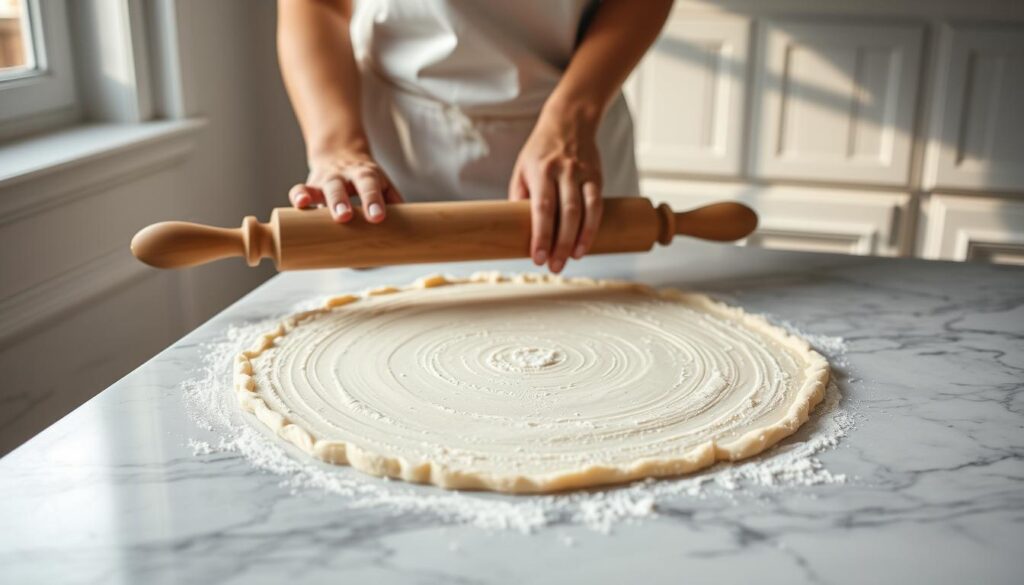
Learning to roll and shape pie crust is key for a great pie. The right method can turn a good pie into an amazing one.
First, prepare your work area. Dust your countertop with flour to avoid sticking. Roll your chilled dough from the center outwards, using gentle pressure. It’s important to keep the dough even in thickness.
- Roll the dough to approximately 1/8 inch thick
- Rotate the dough a quarter turn after every few passes
- Use light, even strokes with your rolling pin
- Keep the surface lightly floured to prevent sticking
To move the dough to your pie plate, use a smart folding trick. Fold the rolled-out dough into quarters. This makes it easier to move and less likely to tear. Place the folded dough in the pie plate and unfold it gently.
For the best pie crust, focus on your crimping. The crust’s edge is not just for looks; it seals the filling. A finger crimp adds a fluted texture that keeps the crust in shape while baking.
Pro tip: Keep your dough cold throughout the entire process to prevent stretching and ensure a flaky, tender crust.
Remember, practice makes perfect. The more you roll and shape pie crust, the better you’ll get at making beautiful pies.
Decorative Edge Designs and Patterns
Creating beautiful pie crust edges is an art. It’s more than just decoration. The design of your pie’s edge can affect how long it bakes and make it look better. Learning different crimping and decorative techniques will make your baking better and impress your guests.
The right edge design makes your pie look stunning. It can also change how long it bakes and its texture. When thinking about baking time, remember that fancy designs might need slight changes.
Classic Crimping Methods
Classic crimping techniques give your pie a traditional and elegant look. Here are some popular methods:
- Fork Crimp: Simple and quick, press the tines of a fork around the pie’s edge
- Finger Crimp: Use your thumb and forefinger to create uniform ridges
- Rope Edge: Twist the dough between your fingers for a braided appearance
Advanced Design Techniques
For bakers wanting to improve their pie crust, advanced designs offer creativity and sophistication:
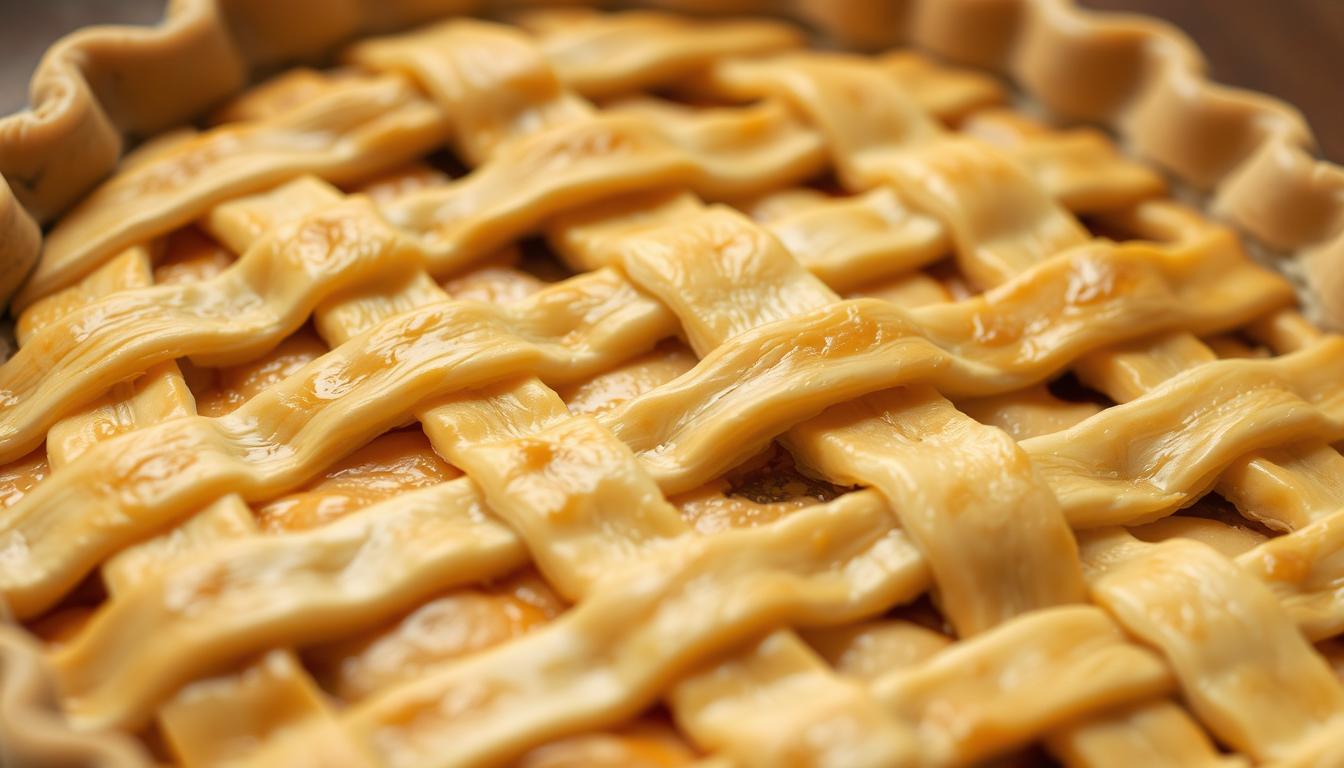
- Lattice-Style Edge: Weave strips of dough around the pie’s circumference
- Scalloped Edge: Use a small cookie cutter to create decorative curves
- Braided Border: Intertwine multiple dough strands for an intricate look
| Design Technique | Complexity Level | Baking Time Adjustment |
|---|---|---|
| Fork Crimp | Beginner | No adjustment needed |
| Finger Crimp | Beginner | Minimal adjustment |
| Lattice-Style Edge | Advanced | Add 2-3 minutes |
| Braided Border | Expert | Add 3-5 minutes |
Pro tip: When trying advanced edge designs, watch your pie closely. Be ready to adjust baking time to avoid over-browning.
Pre-Baking and Blind Baking Methods
Mastering pie crust baking time is key to making perfect pastry. Blind baking is a special technique for certain pies. It makes the crust crisp and fully cooked before adding fillings.
When should you use blind baking? It’s crucial for pies with:
- Custard-based fillings
- No-bake cream fillings
- Wet ingredients that might make the crust soggy
The pie crust baking time for blind baking has two main stages:
- Initial Baking with Weights:
- Preheat oven to 375°F
- Line crust with parchment paper
- Fill with pie weights or dried beans
- Bake for 12-15 minutes
- Final Baking without Weights:
- Remove parchment and weights
- Bake for additional 10-12 minutes
- Until crust is golden brown
Professional bakers suggest using ceramic pie weights or dried beans. They help keep the crust from puffing up and ensure even baking.
| Pie Type | Blind Baking Required | Baking Time |
|---|---|---|
| Custard Pies | Yes | 22-25 minutes total |
| Cream Pies | Yes | 22-25 minutes total |
| Fruit Pies | No | 45-50 minutes |
Practice and patience are essential for mastering pie crust baking time. Each step in blind baking leads to a deliciously crisp and golden crust. It will surely impress your family and friends.
Common Troubleshooting Solutions
Baking the perfect pie crust can be tough. But knowing common issues helps you make a flaky, tasty pastry every time. Fixing problems before they start is key to the perfect pie crust bake time.
Professional bakers face pie crust problems that can ruin their baking. Let’s look at some key solutions to help you master your perfect pie crust bake time.
Fixing Tough or Crumbly Dough
Don’t worry if your pie dough gets tough or crumbly. Here are ways to save your crust:
- If dough is too tough, let it rest in the fridge for 10-15 minutes
- For crumbly dough, add ice water slowly, one teaspoon at a time
- Avoid overworking the dough to prevent too much gluten
Preventing Shrinkage During Baking
Pie crust shrinkage can mess up your perfect pie crust bake time. Here are expert tips to prevent it:
| Technique | Solution |
|---|---|
| Chilling | Refrigerate dough for 30 minutes before baking |
| Crimping | Avoid stretching dough when placing in pie dish |
| Weights | Use pie weights during initial baking |
With these troubleshooting tips, you’ll make a consistently great pie crust. It will impress everyone at the table.
Storage and Make-Ahead Tips
Learning how to store pie crust is key to baking success. You can make your pie crust ahead of time. This saves you time and ensures it tastes great when you bake it.
There are many ways to store unbaked pie dough:
- Refrigerator Storage: Wrap your pie dough tightly in plastic wrap
- Freezer Preservation: Protect dough in freezer-safe bags or wrap
- Short-term Keeping: Store in the coldest part of your refrigerator
Refrigeration is best for short-term storage. Properly wrapped pie dough can stay fresh in the fridge for 3-4 days. This way, you can make your crust ahead of time without losing quality.
“Preparation is the key to perfect pie crust” – Professional Pastry Chefs
Freezing is great for longer storage. You can freeze pie dough for up to 4 months. Just thaw it in the fridge overnight before baking. This helps keep the crust’s texture and baking results consistent.
Pro tip: Always label your wrapped dough with the date of preparation. This keeps track of its freshness. When you’re ready to bake, let the dough sit at room temperature for 10-15 minutes. This makes it easier to roll and shape.
Advanced Pie Crust Variations
Want to take your pie crust to the next level? Try out new variations that can change your baking game. Each style brings its own texture and taste, affecting how long it cooks and how it turns out.
Looking into different pie crusts lets you add your own twist with cool ingredients and methods. Each one needs special care in cooking time and how you prepare it.
- Whole Grain Crusts: Try using whole wheat or rye flours
- Gluten-Free Options: Use almond or coconut flour instead
- Flavored Doughs: Add herbs, spices, or sweeteners
Choosing a pie crust variation changes baking times and textures. Some might need tweaks to how you cook it.
| Crust Variation | Cooking Time Adjustment | Texture Profile |
|---|---|---|
| Whole Wheat Crust | Add 3-5 minutes | Denser, nuttier |
| Gluten-Free Crust | Reduce 2-4 minutes | More delicate |
| Herb-Infused Crust | Standard timing | Aromatic, crisp |
Getting good at these advanced pie crusts takes practice and knowing how ingredients bake together. Keep trying new things to find your ideal crust.
Conclusion
Baking the perfect pie crust is a skill that gets easier with practice. As you learn, you’ll see how simple ingredients can become amazing pastry. It all starts with knowing the right mix of ingredients, temperature, and technique.
Making a great pie crust takes patience and precision. Every try teaches you something new about dough, fat, and texture. Professional bakers say it’s about getting better with practice, not being perfect.
Every great baker began where you are now, learning and trying new things. Your effort to try different methods and understand ingredients will pay off. You’ll make pie crusts that are golden, tender, and delicious.
Enjoy the journey, trust your instincts, and savor the tasty results. With each pie crust, you’re part of a long tradition. You’re connecting with others through the joy of homemade pastry.
FAQ
How long should I bake a pie crust?
What temperature is best for baking pie crust?
How can I tell when my pie crust is perfectly baked?
What is blind baking, and when should I do it?
Can I prevent my pie crust from shrinking during baking?
How do I achieve a flaky pie crust?
Can I make pie crust ahead of time?
What’s the difference between partially and fully baked crusts?
Leave a review :
There are no reviews yet. Be the first one to write one.

