Delicious Chocolate Cobbler Recipe: A Gooey Cocoa Treat
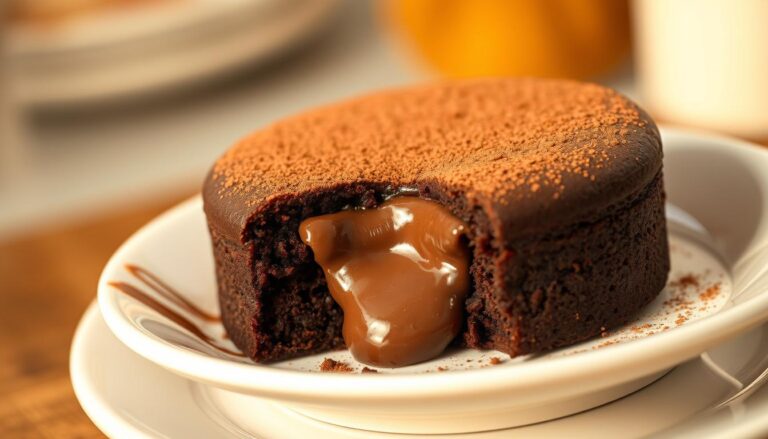
Imagine sinking your spoon into a warm, decadent chocolate cobbler. It melts in your mouth, sending rich chocolate comfort to your soul. This homemade chocolate cobbler is more than a dessert. It’s a culinary experience that turns simple ingredients into magic.
Southern kitchens have long celebrated this incredible dessert. It combines the best of brownies and hot fudge sauce. With just a few simple ingredients, you can make a chocolate cobbler that everyone will love.
If you love chocolate or just want a comforting sweet treat, this recipe is for you. It’s your new favorite dessert. Get ready to make a recipe that’s impressive and easy to make.
Table of Contents
Key Takeaways
- Learn to create an authentic Southern-style chocolate cobbler
- Discover a simple yet decadent dessert recipe
- Master the art of creating a gooey chocolate base
- Impress friends and family with minimal baking skills
- Enjoy a dessert that’s both nostalgic and delicious
What Makes Chocolate Cobbler Special
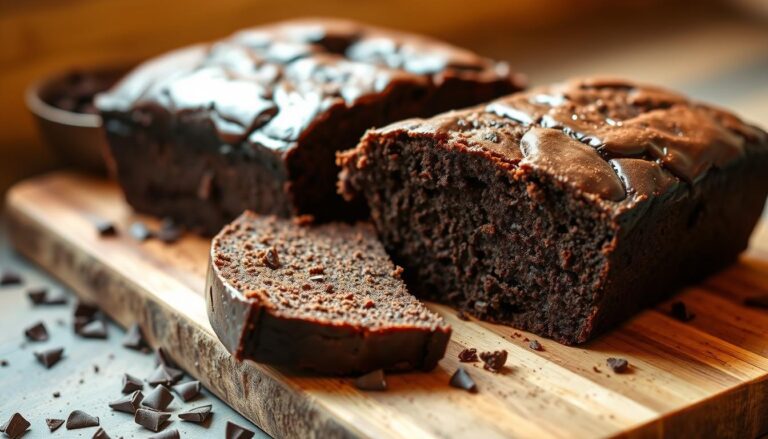
Explore the world of the best chocolate cobbler, a Southern dessert that turns simple ingredients into a chocolate lover’s dream. This dessert is a unique mix of a classic brownie and a rich lava cake.
This dessert is special because of its simplicity and rich taste. It’s amazing how a few basic ingredients can make such an incredible treat. It seems to go beyond traditional baking.
Origins of Southern Chocolate Cobbler
Southern kitchens have always been known for comfort desserts. The chocolate cobbler is a perfect example. It was created by home cooks who wanted to make something special with just a few ingredients.
- Originated in Southern United States
- Developed as a creative twist on traditional fruit cobblers
- Became a staple of home-style baking
Why This Recipe Works
The magic of this chocolate cobbler is its self-saucing technique. As it bakes, it makes its own gooey chocolate sauce. This sauce is under a crisp brownie-like top.
| Key Technique | Result |
|---|---|
| Layering Ingredients | Creates natural chocolate sauce |
| Hot Water Technique | Generates moist, fudgy texture |
Key Features and Benefits
Your chocolate cobbler dessert has many benefits that make it a hit:
- Easy to prepare, even for those with little baking skill
- Has a rich, intense chocolate flavor
- Serves about 8 people
- Can be made in under an hour
The result is a warm, comforting dessert that offers pure chocolate joy with every bite.
Essential Ingredients for Perfect Chocolate Cobbler
Making a delicious homemade chocolate cobbler starts with the right ingredients. These ingredients are the base of this rich dessert. They turn your kitchen into a sweet paradise.
The secret to a great chocolate cobbler is using top-notch ingredients. These ingredients combine to make a gooey, rich dessert. Here are the must-haves:
- Unsalted butter (½ cup)
- All-purpose flour (1⅓ cups)
- Granulated sugar (½ cup + 2 cups for topping)
- Light brown sugar (½ cup)
- Unsweetened cocoa powder (¼ cup + ½ cup for topping)
- Baking powder (2½ teaspoons)
- Salt (½ teaspoon)
- Milk (1 cup)
- Vanilla extract (1 teaspoon)
- Semi-sweet chocolate chips (1 cup)
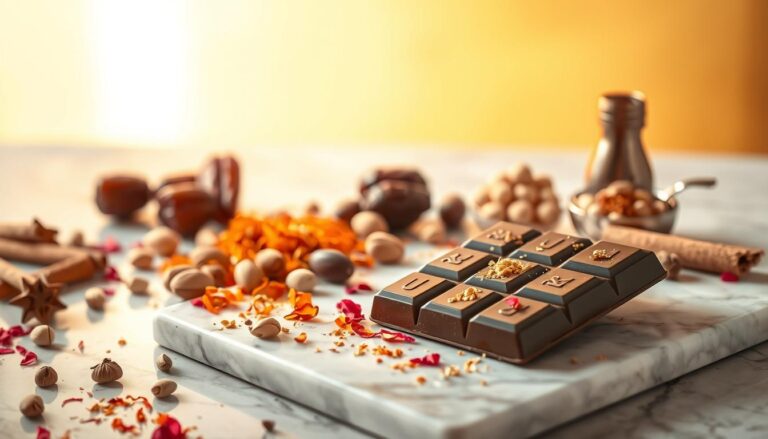
When making your chocolate cobbler, focus on the cocoa powder. Use high-quality, unsweetened cocoa for a deep, rich chocolate taste. This will make your dessert unforgettable.
| Ingredient Category | Purpose in Recipe | Recommended Type |
|---|---|---|
| Butter | Creates rich texture | Unsalted, room temperature |
| Flour | Provides structure | All-purpose or gluten-free alternative |
| Cocoa Powder | Delivers chocolate flavor | Unsweetened, high-quality |
| Sugar | Adds sweetness | Combination of granulated and brown sugar |
Pro tip: For a deeper flavor, add a pinch of cinnamon or a teaspoon of espresso powder. These will enhance the chocolate taste in your cobbler.
Kitchen Tools and Equipment Needed
To make the perfect easy chocolate cobbler, you need some key kitchen tools. Start your baking journey by collecting the right equipment. You probably have most of these items in your kitchen already.
Baking Dish Selection
Choosing the right baking dish is key for your chocolate cobbler. A 9×13 inch baking pan or an 8-inch square brownie pan is best. The perfect dish should:
- Be made of sturdy ceramic or glass
- Have deep sides to hold the gooey chocolate layers
- Provide even heat distribution
Additional Kitchen Tools
Get these essential tools to make preparing your chocolate cobbler easy:
- Large mixing bowl
- Measuring cups and spoons
- Whisk or electric mixer
- Rubber spatula
- Oven mitts
Optional Equipment
These tools are not necessary but can make your chocolate cobbler experience better:
- Kitchen scale for precise measurements
- Stand mixer for easier batter preparation
- Cooling rack
- Sifter for cocoa powder
Pro tip: Quality tools make baking an easy chocolate cobbler even more enjoyable!
Preparing Your Workspace and Ingredients
Starting your homemade chocolate cobbler is all about preparation. Before you begin, make sure your workspace is ready. This will make baking your dessert a breeze.
First, gather all your ingredients and measure them carefully. Having everything ready is key for a great chocolate cobbler. This is called mise en place, a French term for preparing everything before cooking.
- Preheat your oven to 350°F (175°C)
- Measure ingredients accurately
- Bring refrigerated ingredients to room temperature
- Collect all necessary baking tools
Your workspace should be clean and organized. Clear your counter and arrange all ingredients within reach. Pro tip: Use small bowls for pre-measuring ingredients like sugar and flour. This makes cooking easier.
“Baking is love made edible” – Anonymous
For a perfect homemade chocolate cobbler, make sure all ingredients are fresh and ready. Butter should be soft, milk at room temperature, and dry ingredients sifted to avoid clumps.
- Check ingredient freshness
- Soften butter 30 minutes before baking
- Sift dry ingredients
- Use precise measuring tools
Remember, good baking starts with preparation. Taking these steps will help you make a delicious chocolate cobbler that will wow everyone.
Step-by-Step Chocolate Cobbler Instructions
Making an easy chocolate cobbler recipe is all about precision and layering. It turns simple ingredients into a rich dessert that will wow your loved ones.
Ready to learn how to make a delicious chocolate cobbler? The secret to a great topping is in the preparation of each layer.
Making the Brownie Base
Begin with your brownie base:
- Mix 1 cup of self-rising flour with 1 cup of granulated sugar
- Add 2 tablespoons of cocoa powder
- Combine with 1 cup of milk until smooth
- Spread the batter evenly in a greased 9×13 inch baking dish
Creating the Cocoa Topping
The topping is what makes this dessert special. Follow these steps:
- Sprinkle an additional 1/2 cup of brown sugar over the base
- Dust with 1/4 cup of unsweetened cocoa powder
- Ensure an even distribution across the entire surface
Adding the Hot Water Layer
The final step is pouring hot water:
- Heat water until it’s nearly boiling
- Gently pour 1½ cups of hot water over the entire surface
- Do not stir – this creates the signature gooey texture
Bake at 350°F for 40-45 minutes. The top should spring back when lightly touched. You’ll get a rich, chocolatey dessert with a molten center that chocolate lovers will adore.
Baking Time and Temperature Guidelines

Getting the chocolate cobbler bake time right is key to a perfect dessert. Bake at 350°F (175°C) for 35-40 minutes. This ensures a gooey inside and a set top layer.
Several factors affect your chocolate cobbler’s success during baking:
- Oven accuracy and calibration
- Baking dish material and size
- Ingredient temperature
- Altitude of your kitchen
Experts suggest using a 2.5-quart baking dish for the best results. Look for these signs to know your cobbler is done:
- Bubbling edges
- Set top layer
- Slight jiggle in the center
Start checking your cobbler at 35 minutes. If it’s not done, bake in 2-3 minute increments. Ovens can differ, so watch closely during the last minutes.
| Baking Parameter | Recommended Setting |
|---|---|
| Oven Temperature | 350°F (175°C) |
| Total Baking Time | 35-40 minutes |
| Recommended Dish Size | 2.5 quart |
Pro tip: Let your chocolate cobbler rest for 10-15 minutes after baking. This helps it set and makes serving easier.
How to Tell When Your Chocolate Cobbler is Done
Getting your chocolate cobbler just right takes attention and skill. Knowing when it’s done can turn a good dessert into a great one.
Baking the perfect chocolate cobbler is an art. It needs careful watching to get that rich, gooey texture everyone loves.
Visual Cues to Check
- Look for a set top with slight jiggling in the center
- Watch for bubbling edges around the baking dish
- Check for a deep, rich chocolate color with a slightly cracked surface
Texture Testing Techniques
To check the texture without messing it up, try these gentle ways:
- Gently shake the baking dish – the center should wobble slightly
- Insert a toothpick near the edge – it should come out with moist crumbs
- Touch the top lightly – it should feel set but not completely firm
Common Mistakes to Avoid
Avoid these common mistakes to make a great chocolate cobbler:
- Overbaking: Results in a dry, tough dessert
- Underbaking: Creates a runny, unset center
- Skipping the crucial 20-40 minute resting period after baking
Pro tip: The dessert cooks more while cooling. Take it out when it’s a bit underdone. Let it rest for 20-40 minutes to get that perfect gooey texture everyone will love!
Serving Suggestions and Pairings
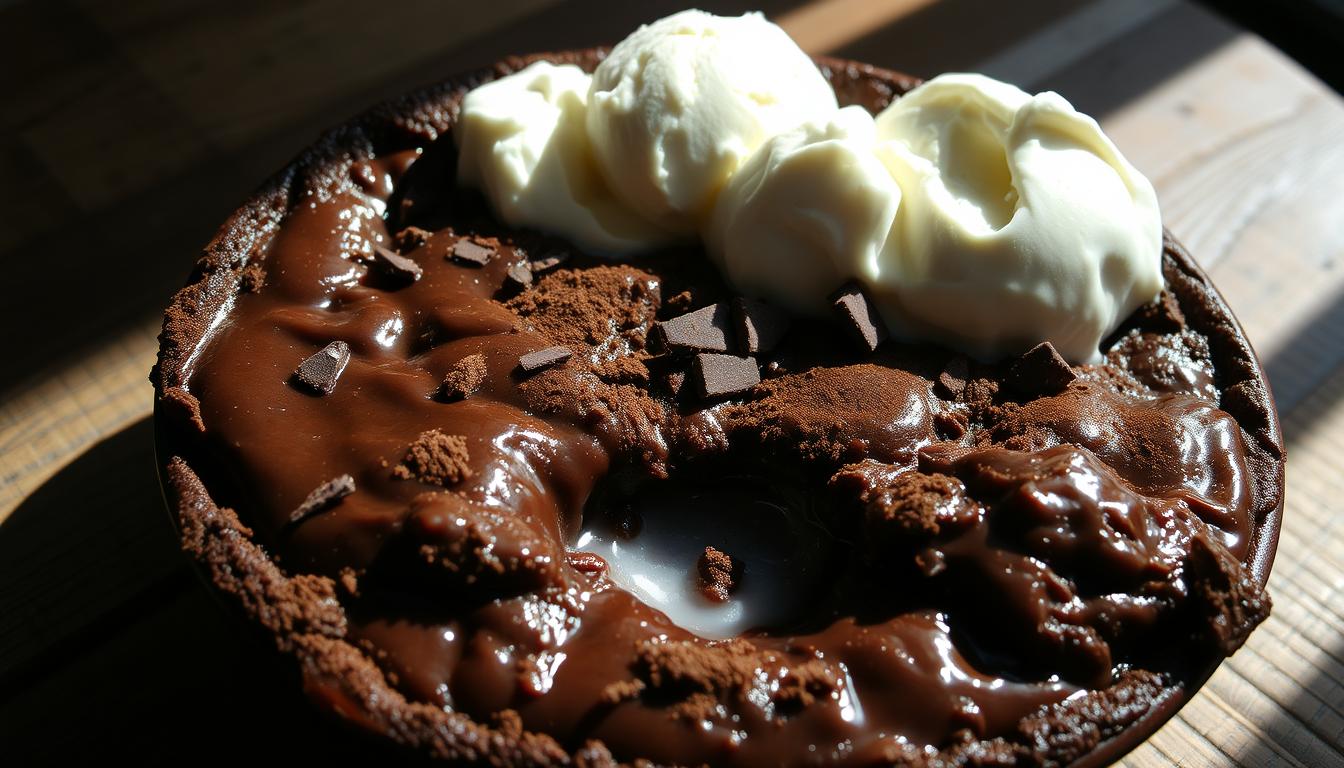
Your chocolate cobbler with ice cream is set to be the highlight of any dessert table. The mix of warm, gooey chocolate cobbler and cold vanilla ice cream is a hit. It will surely impress your guests.
Here are some ways to make your chocolate cobbler even better:
- Classic vanilla ice cream pairing
- Whipped cream topping
- Fresh berries garnish
- Dusting of powdered sugar
- Caramel drizzle
Drinks can also enhance your chocolate cobbler. Try these pairings:
- Grasshopper cocktail to boost the chocolate flavor
- Espresso martini for coffee fans
- Port wine for a deep, complex taste
For special events, how you present your dessert is key. Serve it in individual ramekins or a stunning ceramic dish. A sprinkle of fresh mint or edible flowers can add a touch of elegance. It makes your dessert perfect for Instagram.
Remember, serve your chocolate cobbler warm for the best experience. The warm cobbler and cold ice cream together are unforgettable. It’s sure to make everyone want more.
Storage and Reheating Tips
Keeping your homemade chocolate cobbler delicious is all about how you store and reheat it. Whether you’re saving leftovers or making it ahead of time, these tips will keep the dessert’s flavor and texture perfect.

Proper Storage Methods
Storing your chocolate cobbler right is key. Here’s what you need to know:
- Room temperature: Keep for up to 2 days in an airtight container
- Refrigerator: Store for 3-5 days, covered with plastic wrap
- Allow cobbler to cool completely before storing
Reheating Instructions
Make your chocolate cobbler warm and delicious again with these steps:
- Oven method: Preheat to 350°F, reheat for 10-15 minutes
- Microwave: Heat individual portions for 20-30 seconds
- Best served warm with a scoop of vanilla ice cream
Freezing Guidelines
Freezing lets you enjoy your chocolate cobbler later:
| Storage Method | Duration | Preparation Tips |
|---|---|---|
| Freezer Storage | Up to 2 months | Wrap tightly in plastic wrap and aluminum foil |
| Thawing | 4-6 hours | Refrigerate before reheating |
While these methods work well, nothing beats enjoying your chocolate cobbler fresh from the oven.
Recipe Variations and Modifications
Transform your easy chocolate cobbler recipe with creative changes. These can meet different dietary needs and taste preferences. You can make it gluten-free or add exciting new flavors. There are endless ways to make this dessert your own.
Dietary Adaptations
For those with specific dietary needs, the chocolate cobbler recipe can be adapted:
- Gluten-Free Option: Use a gluten-free flour blend instead of all-purpose flour
- Dairy-Free Alternatives: Try almond or oat milk instead of regular milk
- Vegan Modification: Swap butter for coconut oil or vegan margarine
Flavor Enhancements
Make your chocolate cobbler recipe even better with these tasty changes:
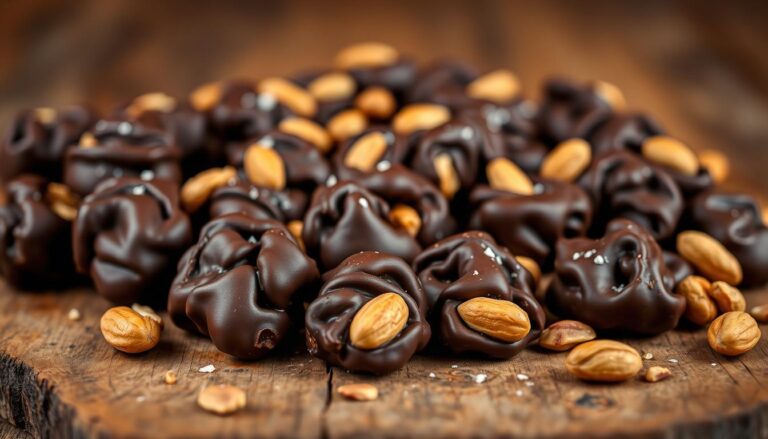
- Nut Additions: Add chopped walnuts or pecans for a crunchy texture
- Fruit Toppings: Top it with fresh strawberries, raspberries, or banana slices
- Extract Variations: Try vanilla or almond extract for a richer flavor
“The beauty of an easy chocolate cobbler recipe is its incredible versatility!” – Baking Enthusiasts
Chocolate Variations
Customize the chocolate flavor by using different cocoa powders or adding chocolate chips. Some prefer dark chocolate for a deeper taste, while others like milk chocolate for sweetness.
Remember, keep the core ingredient ratios the same when making changes. Each variation brings a special twist to this classic Southern dessert!
Common Troubleshooting Tips
Making the best chocolate cobbler needs some baking skill. Even skilled bakers face challenges with this dessert. Knowing common problems can help you improve your chocolate cobbler.
Most issues come from wrong ingredient amounts or baking conditions. Here are some tips to fix these problems and get a perfect dessert:
- Runny Consistency: If it’s too liquid, cut down liquid ingredients by 2-3 tablespoons
- Dry Texture: Add an extra 1/4 cup of heavy cream to keep it moist
- Uneven Baking: Turn the baking dish halfway to bake evenly
- Ingredient Separation: Mix dry and wet ingredients well
Temperature is very important for your chocolate cobbler. Different oven temperatures can affect the result. Using an accurate kitchen thermometer helps keep the temperature right.
| Issue | Potential Cause | Solution |
|---|---|---|
| Soggy Bottom | Too Much Liquid | Reduce liquid by 10-15% |
| Crumbly Texture | Not Enough Moisture | Add more cream or milk |
| Uneven Browning | Uneven Oven Heat | Use middle rack, rotate dish |
Knowing how your ingredients work is crucial for the best chocolate cobbler. Using semisweet chocolate (227g) and cornstarch (21g) helps with texture. Remember, practice makes perfect!
Conclusion
Your journey with homemade chocolate cobbler doesn’t stop at baking. It’s just the start of a tasty adventure. This classic Southern treat turns simple ingredients into a show-stopping dessert. It will wow your family and friends.
With just 35 minutes of prep and cooking, you can make a dessert that’s as good as any bakery. The homemade chocolate cobbler is both versatile and easy to make. It’s perfect for both new and experienced bakers.
Each serving is packed with rich chocolate flavors and a unique texture. It’s both gooey and crisp at the same time. You can also add your own twist, like vanilla ice cream or sea salt.
Don’t be afraid to try new things with your chocolate cobbler. Share it with your loved ones and enjoy the happiness of baking at home. Remember, the best recipes are those we share and enjoy together.
Every time you make a homemade chocolate cobbler, you’ll get better at baking. Enjoy every step, savor each bite, and most importantly, have fun in your kitchen!
FAQ
What exactly is a chocolate cobbler?
How difficult is it to make chocolate cobbler?
Can I make chocolate cobbler ahead of time?
What’s the best way to serve chocolate cobbler?
Are there any gluten-free or dairy-free variations?
How long does chocolate cobbler take to bake?
Can I freeze chocolate cobbler?
What type of cocoa powder works best?
Why does chocolate cobbler have a layered texture?
Can I add mix-ins to my chocolate cobbler?
Leave a review :
There are no reviews yet. Be the first one to write one.